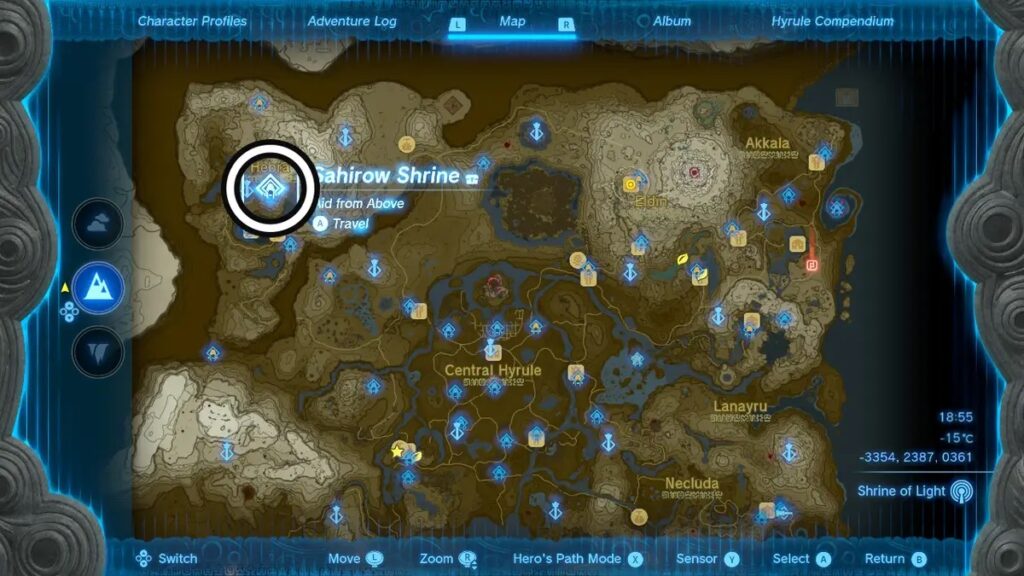
Nestled in the North East of the Hebra Peak region, the Sahirow Shrine holds profound significance in The Legend of Zelda: Tears of the Kingdom. Mastery of its intricacies is essential for an enriching gaming experience. This guide will unravel the secrets of Sahirow Shrine, empowering you to conquer its challenges with finesse. Let’s embark on this journey without delay!
Sahirow Shrine: A Glimpse into the Terrain
Prepare for a dazzling spectacle of laser beams! Sahirow Shrine is a veritable labyrinth of lasers that might initially seem daunting. However, fear not, for our hero, ‘Link,’ possesses the skills to navigate this maze unscathed. Crouching or leaping strategically will safeguard him from harm.
Related: PS5 Slim Rumored Release Date, Price, Design and More
Mastering Sahirow Shrine’s Trials
While the task may appear formidable, its execution is eminently manageable. Begin by sidestepping a red laser in the hallway. Approach it and crouch to avoid contact. In the second hallway, a plethora of lasers awaits. Your strategy here entails the following:
- Leap over the initial solitary laser.
- Crouch to evade the second laser.
- Maintain a crouching posture to traverse beneath the ensuing four lasers.
- Exercise caution in assessing their height, as appearances can be deceptive.
Having surmounted the laser obstacle, advance to a raised platform on your right. Employ a deft glide to evade the next trio of lasers. Ascend to an overhead platform and steer Link towards the laser-guarded chamber, where a treasure chest beckons.
Crouch once more infiltrates the laser-guarded room. Here, a nuanced manoeuvre is indispensable. Spot the treasure chest ensconced behind metal bars and two blocks nearby. Employ one block as a barrier against the laser beams, enabling safe passage—Employ ‘Ultrahand’ to manipulate the block.
Related: The Super Mario Bros. Movie Gets Peacock Release Date

A pivotal juncture awaits—once the block thwarts the laser, a trap door materializes at the entrance, concurrently granting access to the chest. Seize the moment to access the compartment, activating the door to the adjacent chamber. Undo the process in reverse, liberating the block with ‘Ultrahand’ to restore normalcy to the trap door.
Crouch beneath the laser and re-emerge into the open. Recall the split path featuring a hallway and a room. It’s time to explore the hallway. Brace yourself for an amplified challenge—moving lasers! These dynamic lasers necessitate vigilant reflexes. Leap or crouch with precision to avoid their trajectory.
In the first hallway, time your leap to counter the first laser. Crouch to evade the second in the subsequent corridor. The third hallway introduces an inescapable laser grid. Strategically position yourself at the entrance, waiting for the laser’s retreat. Seize the opportunity and ascend to the ceiling using ‘Ascend.’
Please navigate to the moving platform and await its proximity to the final pedestal. Execute a precise leap and glide to secure the Light of Blessing.
Armed with this guide, you possess the prowess to triumph over the intricate laser challenges of Sahirow Shrine. Sequencing is key! As laser puzzles unfold, remember our approach. Channel your inner hero and embrace the exhilarating journey that lies ahead.
Related: GTA 6 Release Date, Gameplay, Weapons, Price, Maps, Storyline, and More
